

You’re likely here because you:
- Are using an Apple Mac computer
- But you don’t know how to screen record on it
Well, your Mac has the power to do it — without installing any app! Now, I’ll quickly show you how to use that power feature 100% for free.
What is Screen Recording on Mac?
Answer: Screen recording on a Mac is the process of capturing video of everything happening on your screen.
Using tools like QuickTime Player or the screenshot toolbar (Command + Shift + 5), you can record your entire screen or a specific portion, including audio, to create tutorials, presentations, or save online content directly to your Mac.
How to Make a Screen Recording on Mac
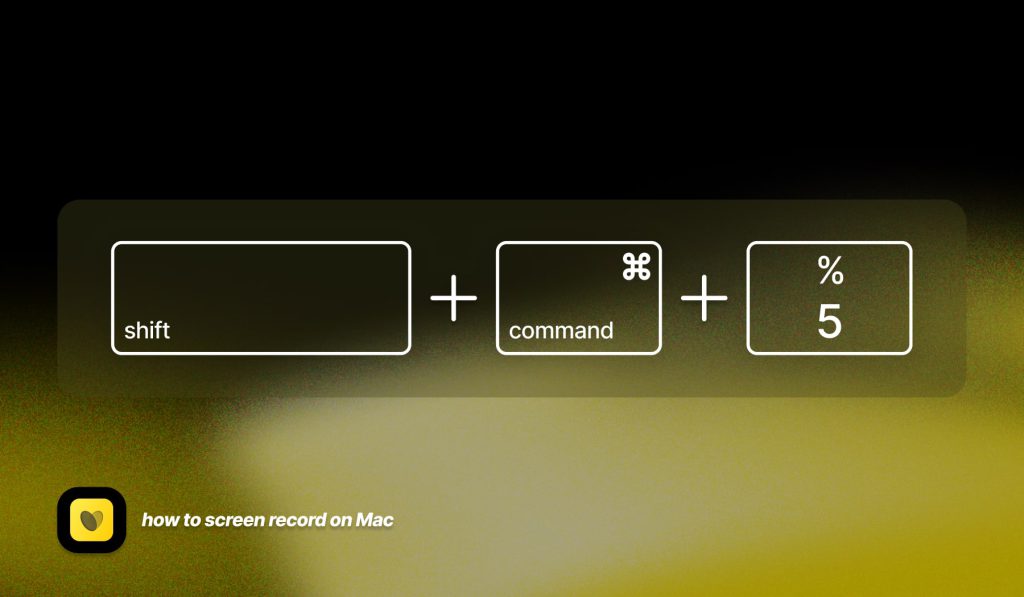
Answer: The fastest way to screen record on a Mac is to use press “shift + ⌘ command + 5” at the same time. This is the screen record shortcut.
- Open your Mac computer
- Press “
shift + command ⌘ + 5” at the same time - Choose how to record: “Selected Screen” or “Entire Screen“
- Optionally, click “Options” for settings
- Click “Record” > Being your recording
- To finish, press the new button on the menu bar (top of the screen)
In essence, steps 1 → 3 are the ones you care most about. The rest are just for confirmation and finishing the recording.
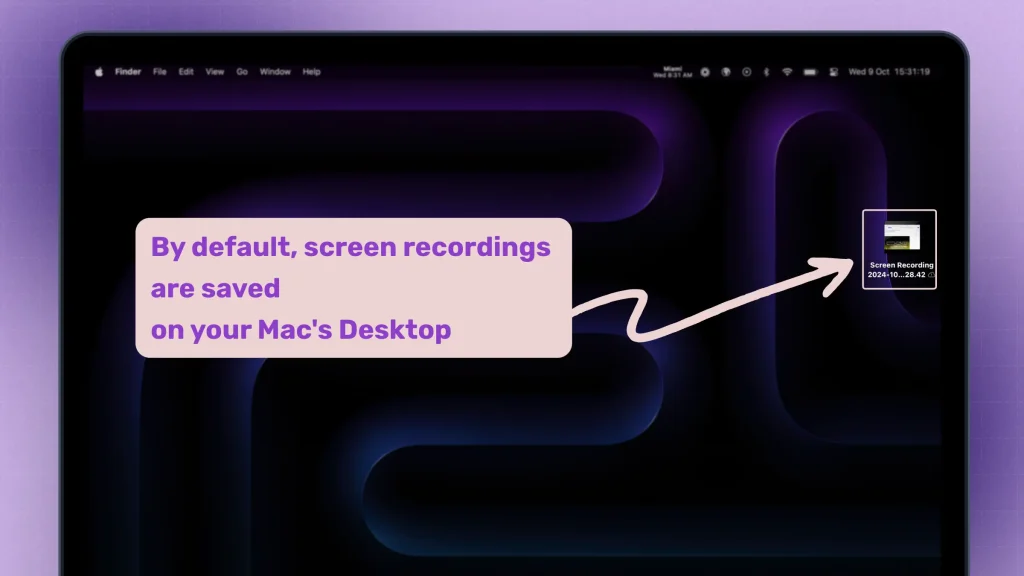
Pro Tip: When finished, you’ll find the recording on your Desktop.
That’s how easy it is to create a screen record. No need to ever pay for any other screen recording software!
You can make as many as your Mac’s storage permits (which is a lot, unless you’re not screen recording for +1 hour).
Troubleshooting: I Can’t Find Screen Recordings on My Mac
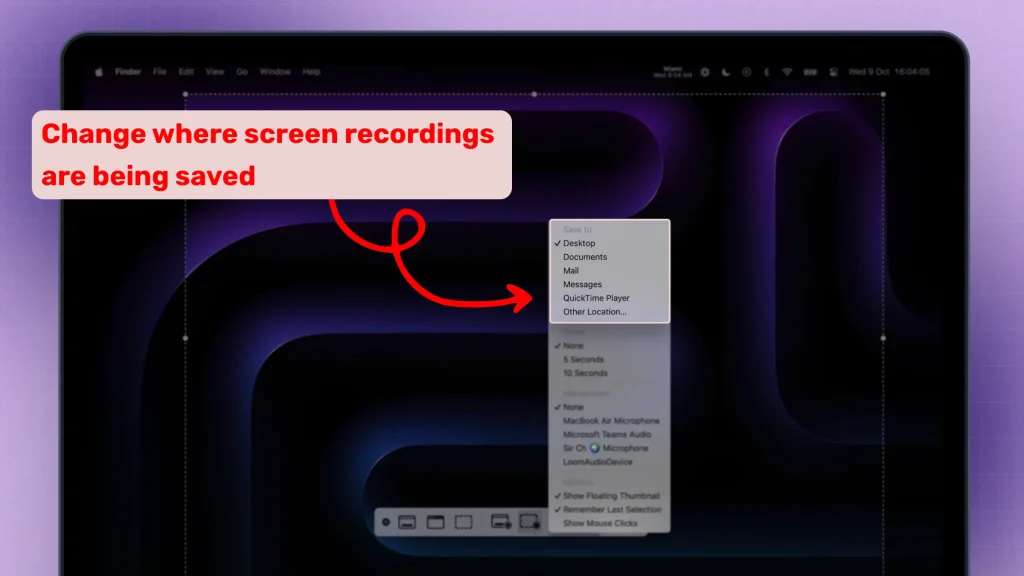
Most often, people can’t find their screen recordings because they’ve changed the storage folder by mistake.
To check that: Command (⌘) + Shift + 5 > “Options” > “Save to” > Choose a folder.
Though, this just one potential fix.
If you’ve finished your screen recording and it doesn’t turn out to be on your desktop, here’s what you can do:
- Check Default Save Location: Look in the settings of the recording software for the default save path.
- Search Your Computer: Use your file search feature to look for common video file types like
.mp4or.mov. - Look in Temporary Files: Check your system’s temporary files folder for unsaved recordings.
- Review Recent Files in the Software: Open the recording app and check for a “Recent” or “History” section.
- Check Cloud Storage: Look in any linked cloud services like Google Drive or OneDrive.
- Reopen the Application: Close and reopen the recording software to see if it recovers the file.
- Restart Your Computer: A quick restart can refresh file caches.
- Check for Auto-Save Options: See if the software has an auto-save feature and how to access those files.
If you still can’t find it, you may need to redo the recording.
Why should you Screen Record on Mac?
Screen recording on a Mac is useful because it allows you to:
- Create Tutorials and Demos: Easily capture step-by-step guides for software, workflows, or troubleshooting to share with others.
- Document Meetings and Presentations: Record virtual meetings, presentations, or webinars to review important information later.
- Capture Visual Content for Projects: Screen recording is helpful for capturing footage for video projects, especially when creating educational or tech-related content.
- Save Time on Explanations: Instead of typing lengthy instructions, you can show exactly what to do, making explanations clearer and more efficient.
Screen recording on a Mac is quick and intuitive, with built-in tools making it accessible for various needs.
Frequently Asked
1. Does Mac screen record include sound?
Answer: Yes, Mac screen recordings include sound by default.
On Mac, you can only turn off your microphone during a screen record like so: Shift + Command (⌘) + 5 > Options > Microphone > None.
2. How to stop screen recording on Mac?
Answer: To stop screen recording on a Mac, click the “Stop” button in the menu bar or press “Command (⌘) + Control + Esc”. The recording will save automatically.
Your recording will automatically save to the designated location.
3. Is there an app to screen record on Mac?
Answer: Yes, QuickTime is the best app to screen record on Mac. It is Apple’s built-in software that comes with every Mac computer.
Thanks a lot for reading this,
David Ch
Head of the Editing Team at SendShort
About the author
Daniel is the head of our research and statistics team. With Daniel's help, our team keeps up with the latest stats and financials for your favourite social media company.